Have you ever been put off preserving your apples or other fruit and vegetables in chutneys, pickles or jams? Think its difficult to properly prepare your jars, or perhaps you thought the expense of buying new jars was too much? If so, read on….
Of course, it is imperative that your glass jars are scrupulously clean before you fill them with your preserves, if you don’t, your carefully made chutney or jam is likely to spoil. Sterilisation of the jars before you fill them kills off any micro-organisms lurking in a seemingly clean jar and ensures that the contents of the jar will not spoil and waste. That is the last thing you want after putting in the time and effort to keep fruit or vegetables edible for the next 12-18 months (or longer!) .
To effectively clean and sterilize jars and lids

- Wash the jars and lids thoroughly in hot soapy water or if you have a dishwasher put them through the hot cycle.
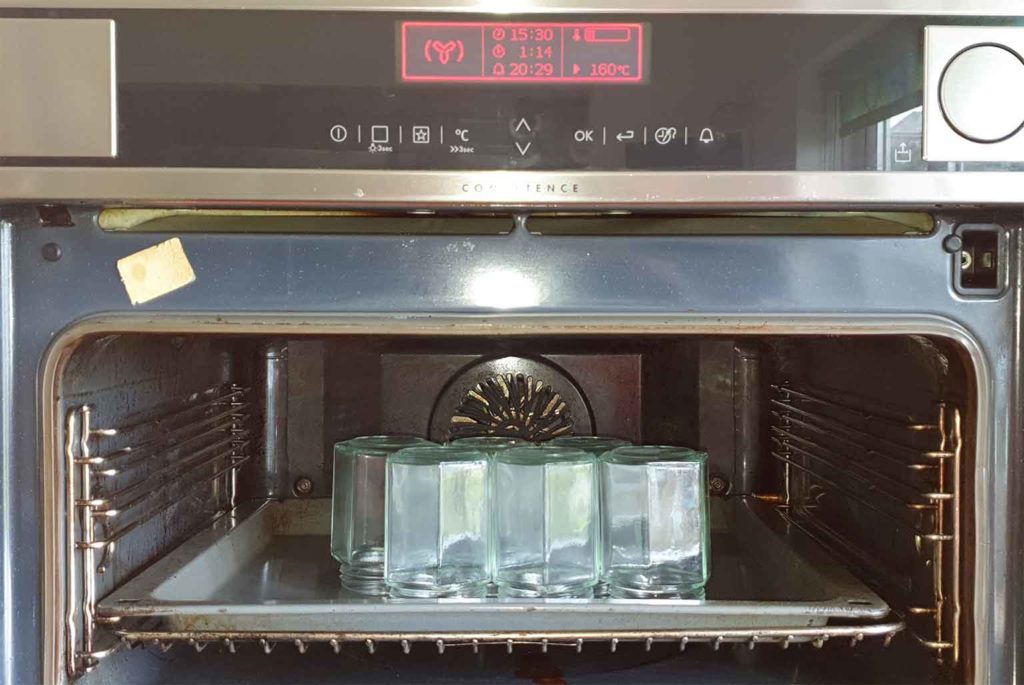
- No need to dry them with a tea-towel, to be honest these often harbor germs and micro-organisms so it is probably best not to use them here. Instead place the washed wet glass jars inverted on a clean baking sheet.
- Place the baking sheet of inverted jars into a preheated oven at 160C / 320F/ Gas Mark 2 for 20 minutes.
- While the jars are in the oven, sort out the lids. If using new lids put them in a pan of boiling water and boil them for 5 minutes or so. If reusing old lids check them carefully and discard any that are damaged in any way as they will not form a good seal (which will also cause your preserves to spoil). If they’ve been used on chutney or pickle jars they may pick up the smell of vinegar which you will not want covering your jam for example. So choose your used lids with some thought and care. Then wash the lids thoroughly in hot soapy water, and as with new lids place them in a pan of hot water and boil for 5 minutes or so.
Some further tips about sterilizing and filling and storing sterilized jars

- Remove jars from the oven ONLY when you are ready to fill them, otherwise they will cool down too much and be at risk of becoming contaminated again
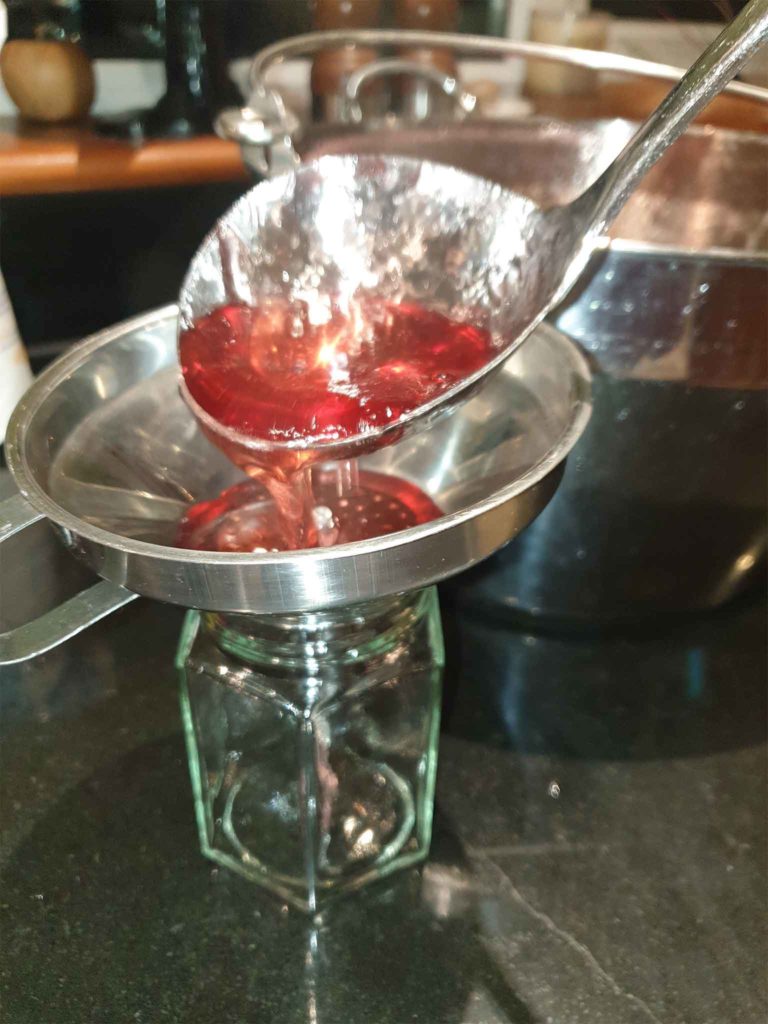
- Add HOT contents to the HOT jars. Never add cold contents to a hot jar or hot contents to a cold jar as there is a risk of the glass shattering.
- Sterilize more jars and lids than you think you will need. It will be too late to start sterilizing more jars if you run out during the filling stage.
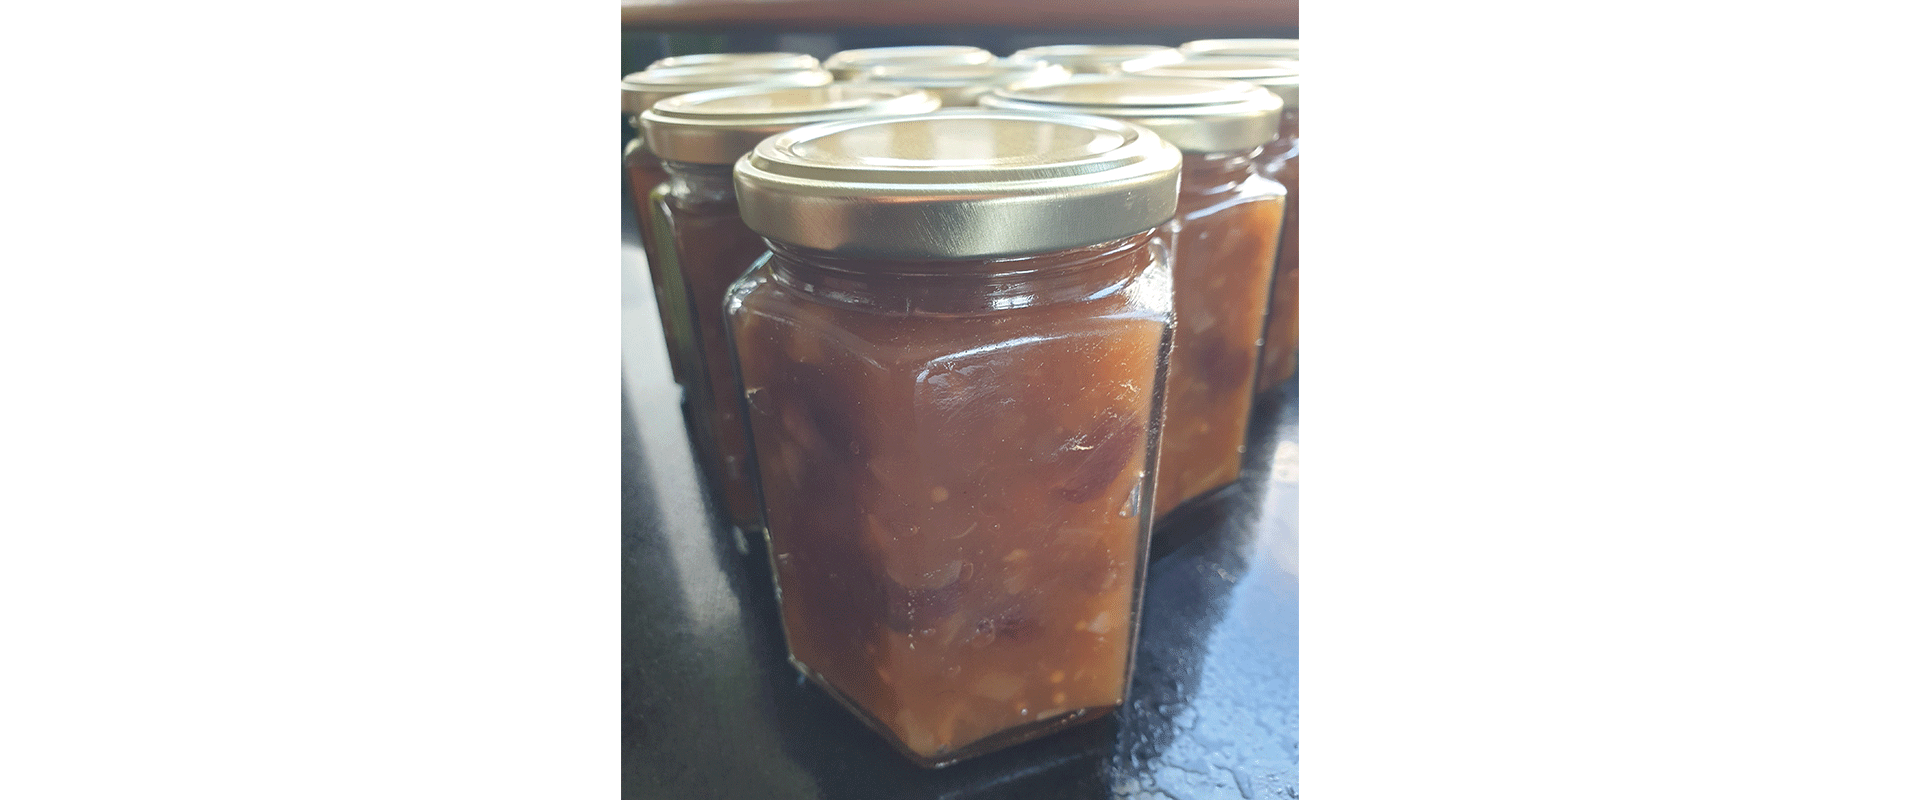
- Cover the jars with the lids or waxed discs and cellophane while everything is still hot although it is a good idea to leave the contents to settle for a few minutes after filling so we usually fill all the jars and then go back to the start and place a lid on each jar in turn.
- If you are not able to reuse your lids you can buy and use waxed discs and cellophane circles which you secure with an elastic band to cover the jars and their contents.
- Once the jars and contents have cooled down check that each lid is tightly on the jars. The contents need to be kept air tight to last as long as possible.
- The preserves in properly sterilized jars should be stored in a cool dry dark place and should keep for at least 6 months. Sunlight can affect the color of preserves and humidity can cause fermentation of the contents. As to the length of time a preserve will keep, check your specific recipe, as some things last longer than others. From our experience all of our preserves have lasted 12 months plus without deterioration and some for significantly longer than this too.
- Once opened the jars should be stored in the fridge and used within about 4 weeks, again depending on the specific contents.
Although there seems to be quite a lot of rules around the sterilizing of jars and lids for preserves, once you have done it a few times and got your process sorted in your own mind, it really isn’t onerous and is definitely worth the effort.


