This article was made in collaboration with the MASHED! magazine which brings their readers tonnes of inspiration, interviews, recipes, tips, and tricks as well as awesome stuff to help and inspire your homebrewing journey. If you are new to homebrewing, they’ve definitely got your back, the magazines are Available in print and online. This article talks about Wasted Apples’ Mark simple cider recipe.
I am a real believer in people having a go – just ‘do it and learn’. I’ve tried to construct this simple recipe in a way that will encourage anyone to give it a go, with the minimum of equipment.
Here is how we do it:
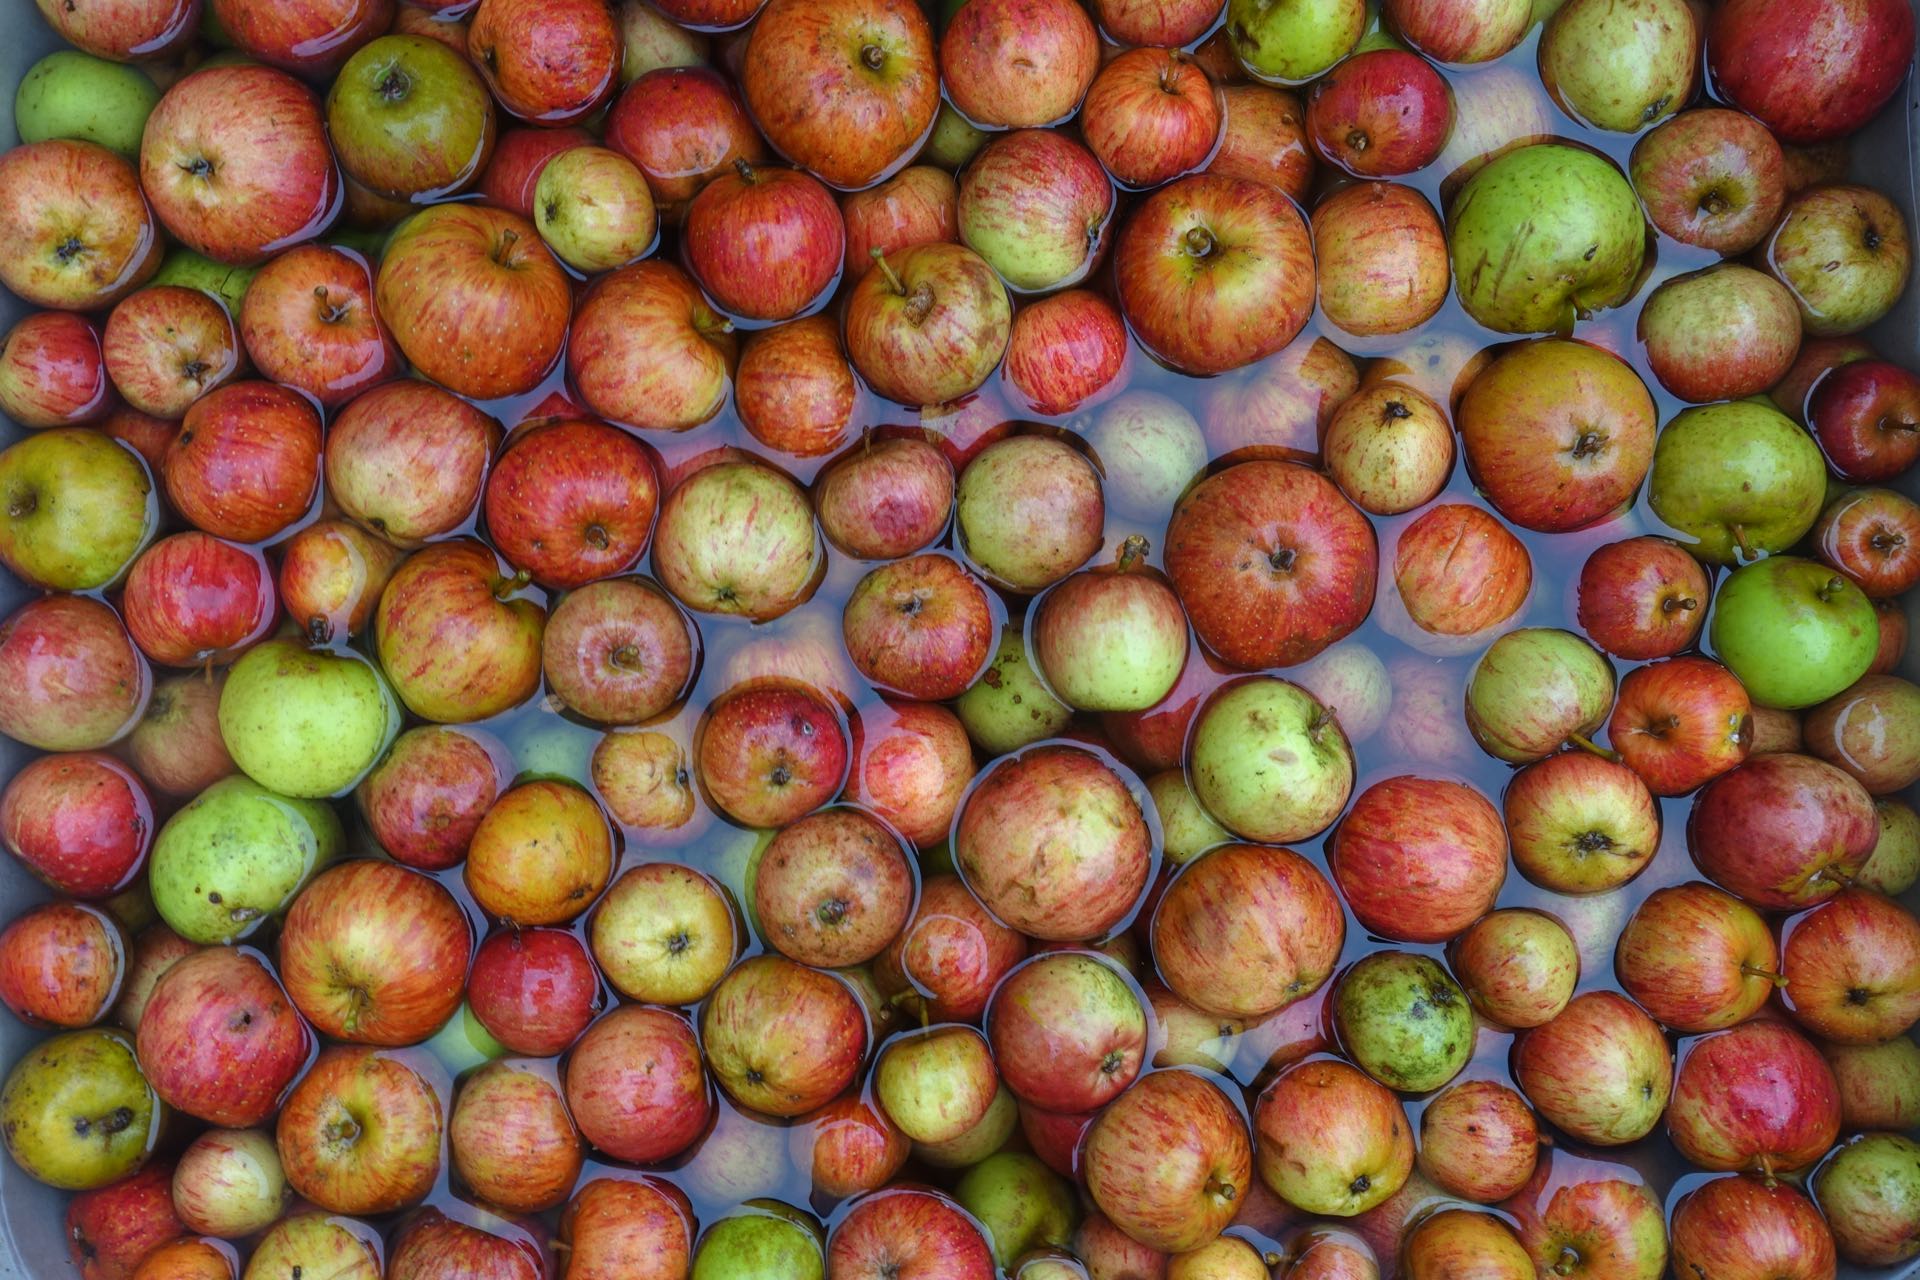
1.Sort and wash your apples. You want clean and sound apples to start with.
2. Cut the apples into small pieces.
3. Using something heavy in a clean bucket crush the apples into a pomace. Do a few at a time to make it easier.
4. Press the apples. Squeeze the pomace using a small basket press or simply wrap the pomace in a muslin cloth and twist.
5. Pitch the yeast. If you have purchased a yeast sachet, pitch it in now and give it a thorough stir for 5 or 10 minutes.
6. Leave for 24 hours. Let the juicE settle and allow the yeasts to start to multiply.
7. Add Sulphur Dioxide. Measure the pH: as a rough guide if the pH is 3.1-3.3 add 1 crushed Campden tablet to every 4.5 litres (the size of 1 standard imperial gallon demijohn). For pH 3.4 -3.6 add 2 tablets and for pH 3.7 – 3.8 add 3. The sulphur dioxide inhibits or kills most spoilage yeasts, moulds and bacteria.
8. Leave for 48 hours. At this stage it’s fine to let air into your juice; it will help the fermentation get properly established.
9. Ferment. Your juice should now have air bubbles forming on the top. Put in the bung and air bubbler, and let your apple juice ferment.
10. Rack If you can, measure the SG; once it has dropped by 10-15 points, rack the cider. Use a tube to syphon into a similar-sized vessel. Racking will slow the fermentation process. Slow is always better! If you can’t measure the SG, just rack it after about 1 week. If you keep racking regularly the fermentation will eventually stop or get stuck as the yeast runs out of nutrients. If you don’t rack the cider, it will ferment all the way to dryness with an SG of 1 or lower.
11. Bottle, Once all fermentation has finished you can bottle your cider (swing-top or plastic bottles are best to start with). Taste it to see what it’s like. If you have fermented your cider completely to ‘dry’, you can add half a teaspoon of sugar to the bottle; you will then get a ‘bottle conditioned’ cider after about 3-6 weeks. Beware: do not add too much sugar as your bottle will explode with the pressure of the fermentation. If you are using plastic bottles, check them regularly to see if they are swelling: if they are, release some of the pressure by loosening and then re-tightening the cap.
12. Drink, If you picked your apples in the autumn, you may well have some homemade cider ready for Christmas. Cool the cider slightly in the fridge before tasting. If the cider is too dry, add some sugar, stir it in, and taste again. It’s also delicious with a dash of elderflower cordial!
Mark’s tips:
Yeast – you can use natural yeasts but if you are doing this for the first time I suggest a sachet of Lalvin 71B- 1122.
pH – you really need something to measure the PH of the juice, as the more acidic the juice the less sulphur dioxide you can use. PH Papers should work fine.
SG – measure the Specific Gravity of the juice so you know how much sugar it contains, and therefore how much alcohol will be generated through fermentation. If you are not worried about knowing the ABV then you don’t need this reading.
Follow the Mashed Magazine at @mashedmagazine
Downloads:


0 Comments