

Apple Jelly is a versatile way of using up a glut of apples. It’s quite easy to make if you follow our step by step recipe and once made it will keep for a year at least.
Overview
Apple jelly can be used simply as an alternative to jam, spread on toast or bread and butter. It could also replace traditional jam in a Victoria sponge cake for example. The interesting thing about apple jelly however is that it is also really good as an alternative to red currant jelly, served with cooked meats and cheeses. The basic recipe given here can also be easily altered, by adding spices and vinegar to make a spiced jelly, adding fresh mint to make an apple mint jelly, just to name a couple of variations.
Preparation time around 30 minutes to prepare your fruit
Cooking time about 1 ½ to 2 hours in total
Straining time about 2 hours
Equipment needed ideally you will need a large pan for initial cooking of the apples, a colander or large sieve lined with a muslin or jelly bag, a sugar thermometer, a preserving pan, jars and lids
A word about your apples You will note that we have been careful to not specify a variety of apple for this recipe. We are trying to get the message across that while some apples may be better for certain purposes (for example Cider Apples make great cider, and cooking apples are great for, yes you guessed it, cooking) you do not need to stick to these rules! We use cider apples for our cider-we also use dessert and some cooking apples for our cider. Cooking apples are good for cooking because they are big and break down nicely when cooked but if you don’t have a cooking apple tree, experiment and use your dessert apples for cooking too. We often don’t know what type of apple we have collected because the owner of the tree has no idea. We taste it and give it a go and 9/10 we end up with great results whether that be cider, juice or in cooking. So if you take anything away from this recipe blog it should be to experiment and don’t stick to traditional rules about apple types!
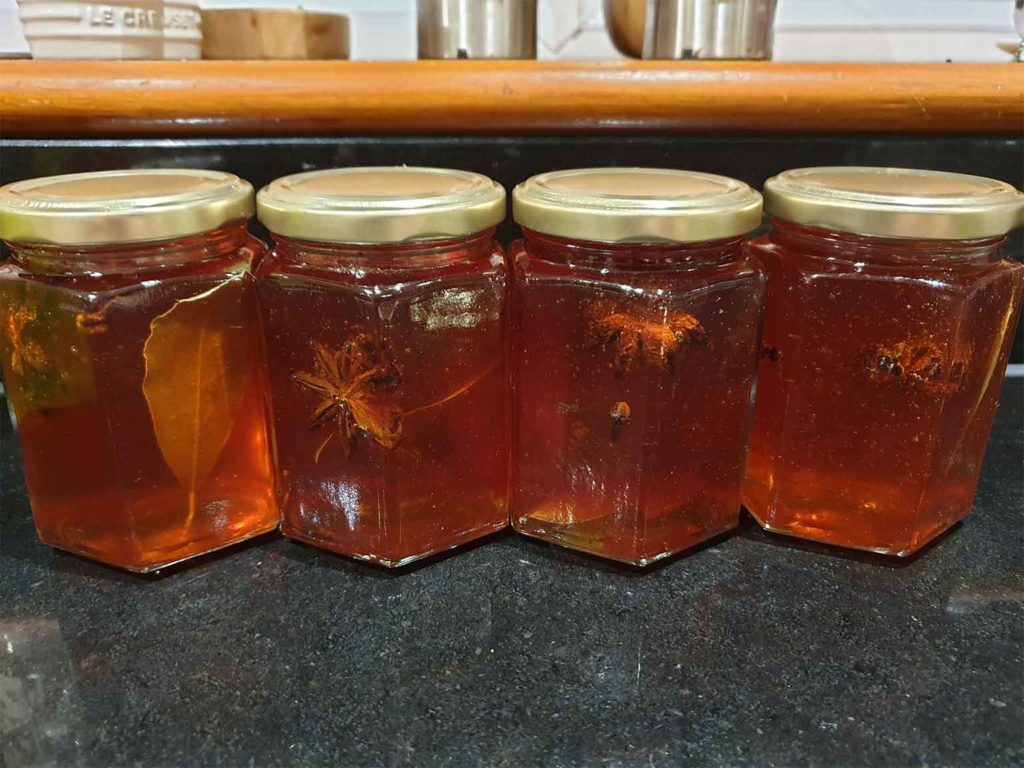
example of variaition on the simple apple-spiced christmas jelly using a crab apple 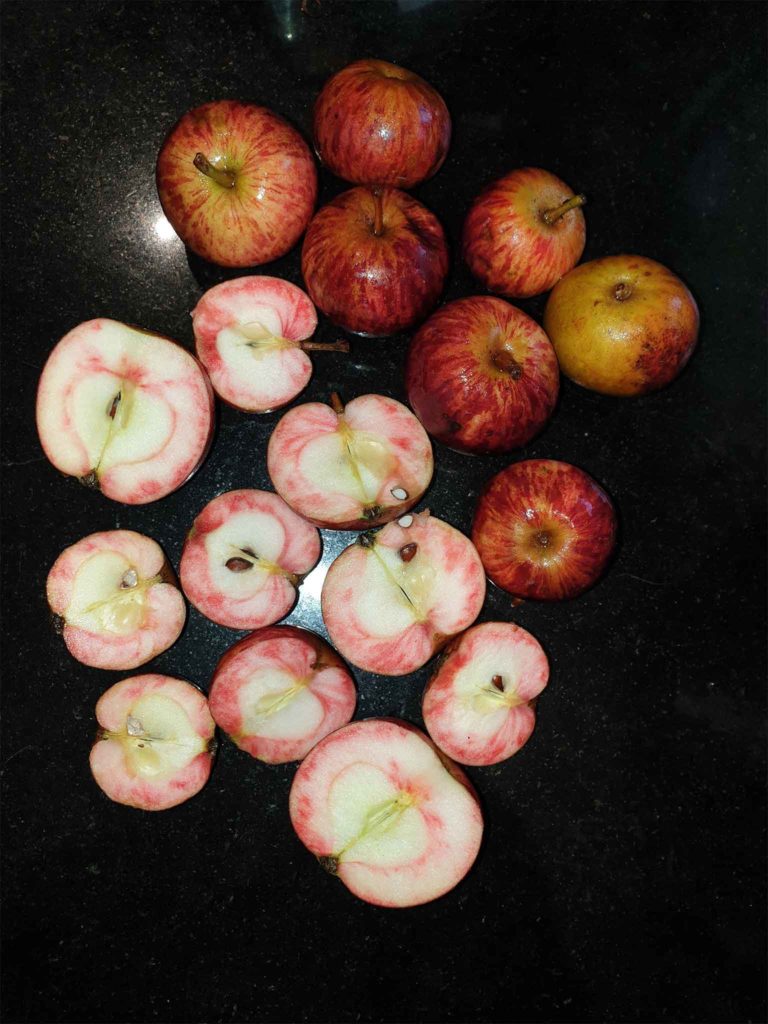
frederick apples
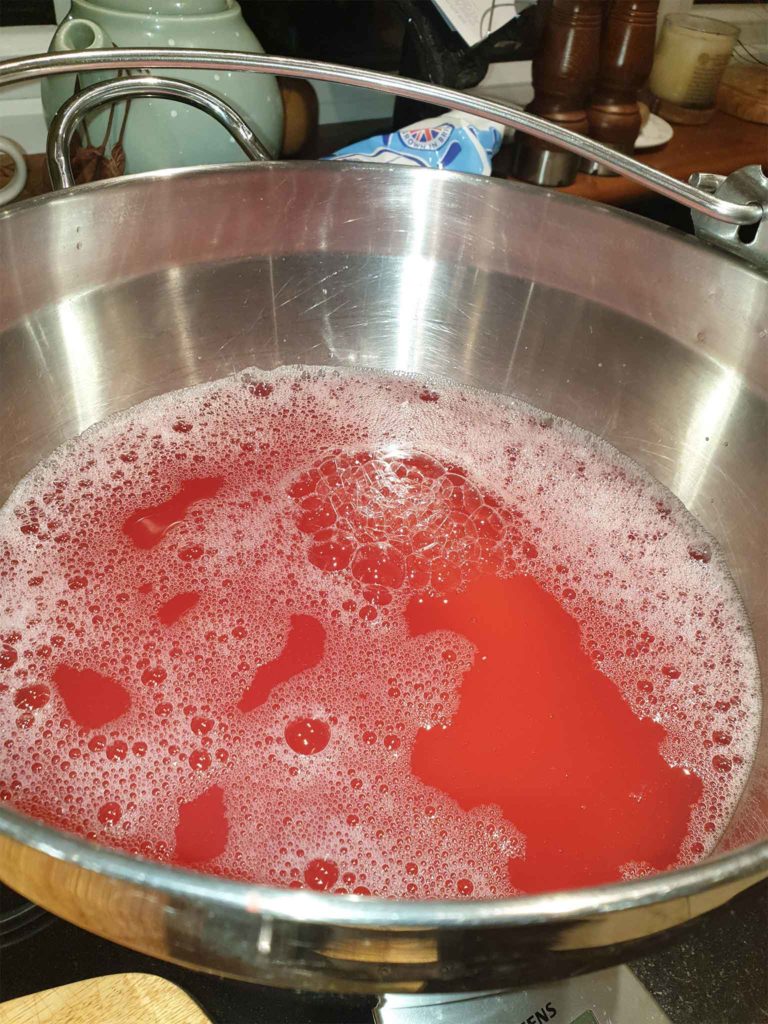
We were lucky enough to obtain Frederick apples in the 2019 harvest. We used these for our Apple Jelly. The Frederick apple is small, and the flesh inside is streaked with deep red, hence the juice we obtained from the apple is pink and the resulting jelly is pink. We also experimented with a French Crab apple and made some deep golden Christmas spiced jelly-different apples will produce different colour jelly, it’s all good though!
Method
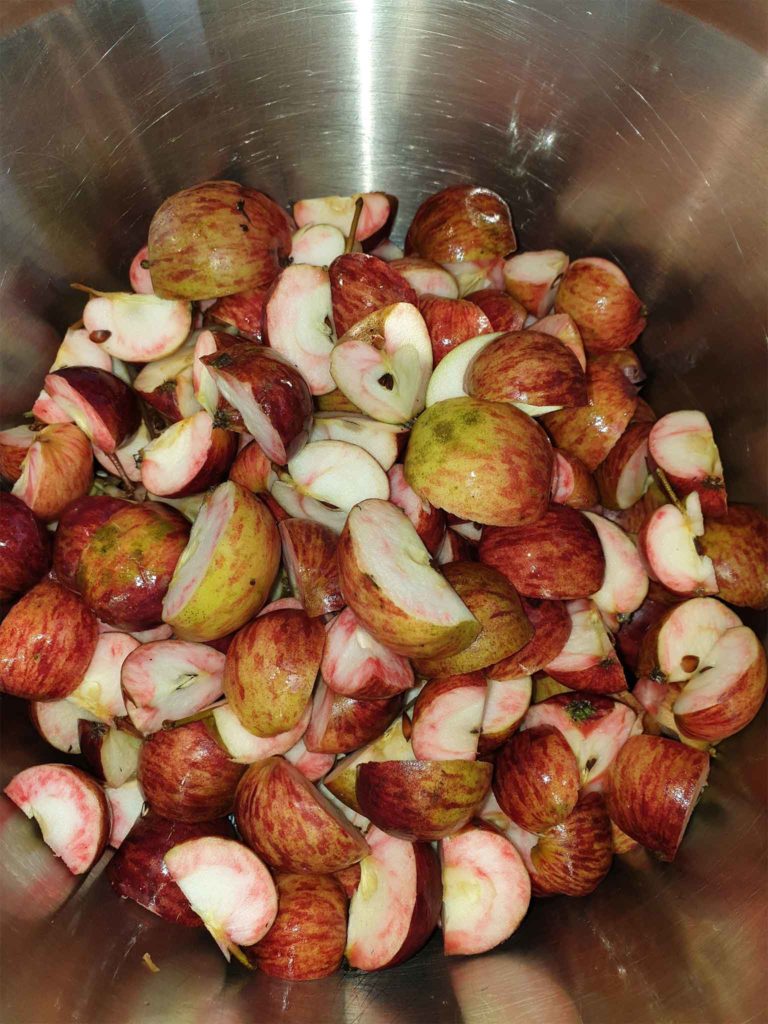
- Wash, cut and weigh your apples
Wash your apples thoroughly as you are not going to be peeling them in this recipe. Then cut into fairly small pieces – a large apple could be cut into 8-10 pieces but very small apples could be 2-4 pieces. The core does not need to be removed and is in fact useful as it and the skin contains pectin, vital for setting this jelly.
- Cook the apples
Place the weighed amount of prepared fruit into a large pan, add the cold water and bring to the boil. Once the apples have come to a fast boil, turn the heat down and simmer the apples in the water for around 30 minutes, with the lid kept on the pan so as to retain as much liquid as possible. - Once the apples have simmered for 30 minutes take them off the heat, and if you have time, leave them to cool slightly.
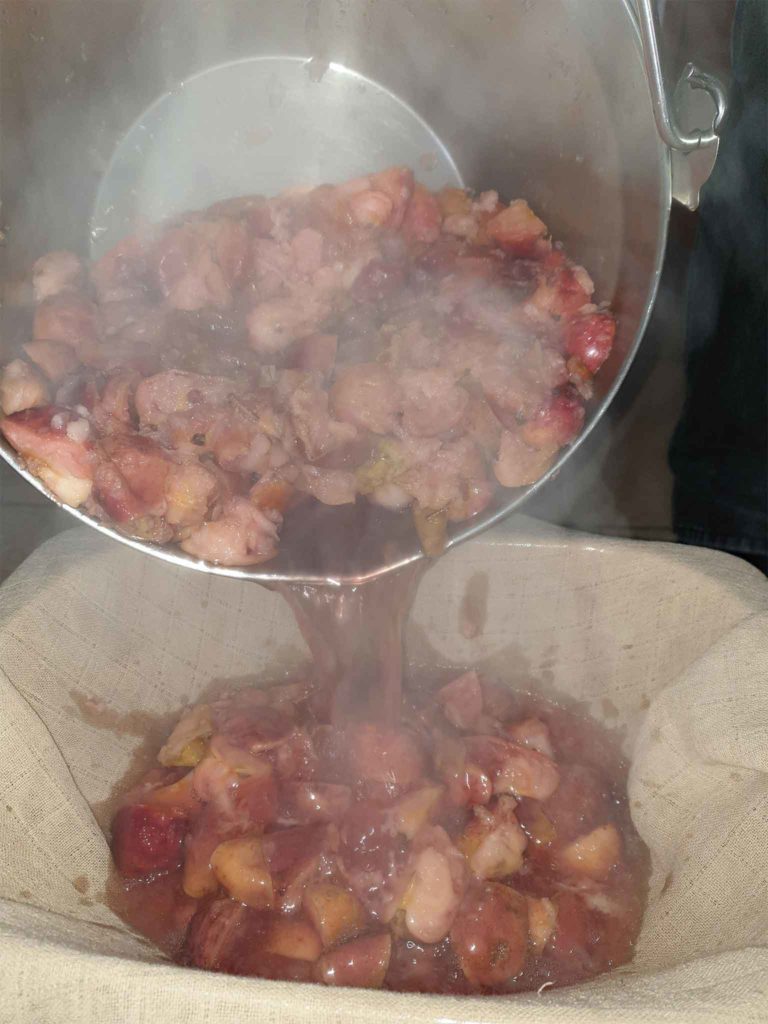
- Strain the juice
Strain the fruit and juice into a fresh pan or other large container through a clean fine muslin. We placed our muslin in a sieve which we found held the muslin and fruit nicely. It has to be nice and steady on its own without being held as you are going to need to leave the juice to drip through the muslin for a period of at least 2 hours. It is important not to squeeze the fruit in the muslin or through the sieve – if you do your jelly will be cloudy and not look so appealing. - Measure your strained juice
Once the 2 hours are up (or once the juice stops dripping through the muslin which may be sooner ) discard the fruit pieces (ideally in your compost bin or similar). You will have a container of lovely clear looking juice, and it’s this that is going to make the jelly. Carefully measure the juice in litres and then calculate how much sugar you need. For every 250ml or ¼ of a litre you need 200g of sugar. Using 2kg of fruit with the 1.25l of water at the start you may expect around 1.5 litres of juice at the end. This will however depend upon the type of apple you are using.
- Add sugar and boil
Place the juice and the measured amount of sugar into your preserving pan, together with 2 tbsp of fresh lemon juice. Bring to the boil slowly, making sure that you stir from time to time to ensure the sugar dissolves. Once the sugar has all completely dissolved you can ramp the heat up and get the jelly boiling rapidly. It needs to reach at least 106C. Ideally you will have a jam thermometer to see when your jelly reaches setting point. If you don’t have a thermometer you will need to use the saucer test detailed below. We always find that it takes longer than you think it will to reach that all important setting point – be patient. - Regularly remove the scum
Your jelly will start to produce a foamy scum on the top throughout the boiling process. This needs to be gently removed from time to time as it will spoil the appearance of the finished jelly.

- Sterilise your jars while the jam is cooking
While your jelly is being cooked, wash and sterilise your jars and lids. Please see our sterilising blog on sterilising jars and lids if you are unsure how to do this. The 2kg of apples should make about 6 x 12oz jars, but again this is not an exact figure because different apples will produce different amounts. Please make sure that you sterilise MORE jars and lids than you think you will need-it will be too late to start sterilising more jars if you run out during the bottling up stage. - Decant you’re out jelly into hot jars
Once your jelly has reached setting point, take off the heat. Take your jars from the hot oven carefully and pour the hot jelly into the hot jars. Seal immediately and allow to cool. - Label and store
Label the jars when cold and store in a cool dry dark place. This jelly should keep well for at least 12 months.
The saucer test
- If you don’t have a sugar thermometer you will need to test your jelly in an alternative way.
- Place a couple of small plates in the freezer for about 15 minutes to chill right down.
- When you think that the jelly may have reached setting point, take the pan off the heat. Take a teaspoon full of jelly from the pan and place it on the plate.
- It will cool very quickly on the cold plate, but leave it for a minute or so and then push your finger through the jelly on the plate. What you are looking for is a wrinkle in the spoon of jelly as you push your finger to it. If there is no wrinkling and the wet jelly simply runs back in to flood the gap made by your finger then its not done yet and you will need to put the jelly back onto a hard boil for a further 5 minutes. Wash the jelly from plate number one and put it back in the freezer. In 5 minutes test your jelly again, using plate number two. Continue taking your jelly off the heat and testing after every 5 minutes of hard rolling boiling until the wrinkle stage is reached at which point you leave it off the heat and decant while hot into hot jars.
- When to start testing is more difficult to give a definitive answer to as all jellies and jams set in different amounts of time. When you have made several batches of jam/jelly you may even start to be able to hear when the setting point is approaching – the sound of the liquid boiling changes slightly. I think initially it is better to test sooner rather later-so test an initial time after 10 minutes of hard boiling of the jelly. Note that setting depends on pectin. Apples are generally high in pectin, adding lemon juice increases the pectin further. Prolonged boiling starts to destroy the pectin so it’s important not to make too much jelly for you preserving pan. As a general rule the jelly should not come more than 1/3 of the way up the side of the pan-this ensures that it comes to boil as quickly as possible, preserving as much of the fruit pectin as possible.
My Kelly didn’t set. Can I reboil?
I reboiled one batch and it set perfectly. I did another andcit stayed running. Now I see above that overbpiling can destroy pectin so that may have happened…
My jelly didn’t set. Can I reboil?
I re-boiled one batch and it set perfectly. I did another and it stayed runny. Now I see above that overboiling can destroy pectin so that may have happened…